Before I became a dad, I had a client who bragged that he’d never changed a diaper—not once.
He said he’d do anything else, but diapers were off the table.
I thought he was completely nuts, but since he was my client, I just smiled and said, “Wow… that’s… interesting.”
Meanwhile, I was thinking, “This guy has twins and just had another baby. That’s diapers times three!”
Now that I’m the dad of a 4-month-old, I know for sure this guy wasn’t just nuts—he’s full-on insane.
Let me just say this—if you’re taking the night shift to let your wife rest, are you really going to wake her up just for a diaper?
Be a good dad.
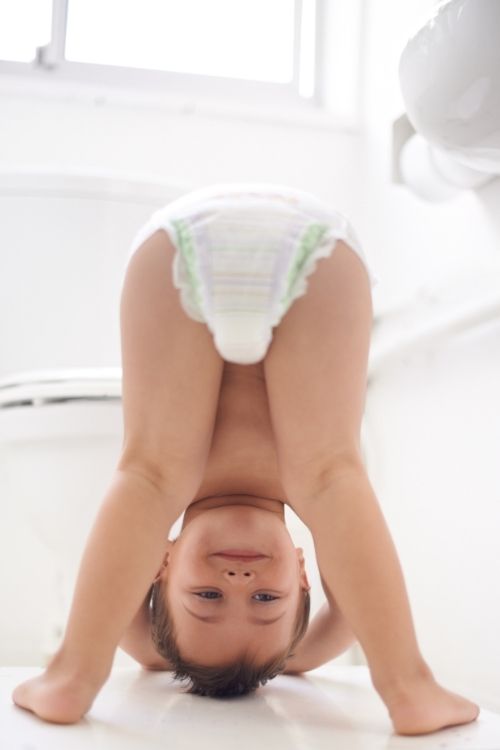
Change your kid’s diaper.
Step 1: Prepare Everything You Need
Here’s a video that has all the steps for you to follow:
Make sure all your supplies are within reach. This includes:
- A clean diaper
- Baby wipes
- Diaper cream (optional)
- A soft pad or blanket for your baby to lie on
You don’t want to realize mid-change that the wipes are in another room.
Preparation is everything.
Step 2: Place Your Baby on a Safe Surface
Lay your baby on a flat, comfortable surface. If you have a changing station, great!
If not, the floor works too.
A tip: placing your baby’s head slightly higher than their feet can help keep them comfortable.
Step 3: Keep One Hand on Your Baby
Always keep your baby secure, especially if you’re changing them on a raised surface like a dresser or changing table.
Babies love to wiggle, so don’t let your guard down!
Step 4: Slide a Clean Diaper Under the Dirty One
Place the fresh diaper underneath your baby before removing the dirty one.
This way, if there’s a mess, it lands on the clean diaper, not your changing pad or blanket.
Position the tabs toward your baby’s back.
Step 5: Open the Dirty Diaper Slowly
Unfasten the tabs and gently open the diaper.
Sometimes, the open air can trigger your baby to go again (it happens more often than you think).
If this happens, just fold the dirty diaper back up temporarily and wait it out.
Step 6: Wipe Your Baby Clean & Remove the Dirty Diaper
Gently lift your baby’s legs by the ankles and use baby wipes to clean their bottom thoroughly.
Always wipe from front to back—especially for baby girls—to reduce the risk of infections.
Be sure to clean all the little folds and creases.
Once your baby is clean, carefully slide out the dirty diaper and roll it up.
Use the tabs to secure it closed before setting it aside for disposal.
Step 7: Apply Diaper Cream (Optional)
If your baby’s skin looks irritated, or just as a preventive measure, apply diaper cream.
Use your fingers or a wipe to spread a thin layer where needed.
Step 8: Secure the Clean Diaper
Fold the front of the diaper up and fasten the tabs snugly.
If your baby still has an umbilical cord stump, fold the top edge of the diaper down to avoid irritation.
Make sure the diaper isn’t too tight—it should fit securely but comfortably.
Step 9: Finish Up and Clean Up
Throw the dirty diaper away, wash your hands thoroughly, and maybe even wipe your baby’s hands if they’ve been exploring.
Bonus Tips for Dads
Use the Old Diaper to Clean Up
When pulling down the dirty diaper, use it to wipe away most of the mess before grabbing wipes.
This little trick saves time and reduces how many wipes you’ll need.
For Newborns with an Umbilical Stump
Fold the front of the diaper inward toward your baby.
It does a better job catching pee (especially for boys!) and keeps the stump area clean and dry.
Make It Fun
Changing a diaper doesn’t have to be a chore.
Use it as a moment to bond with your baby.
Talk, sing, or give them little kisses.
These small gestures turn an everyday task into a chance to connect.